Glanearagh south
Glaneragh (lower crags)
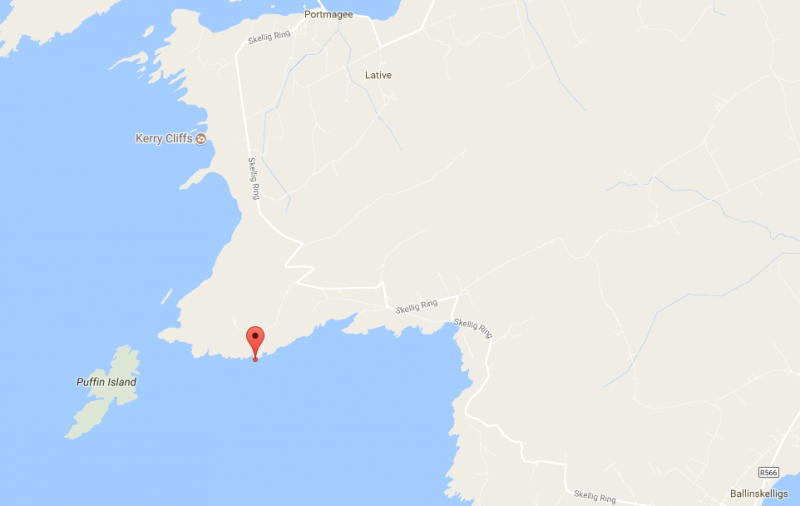
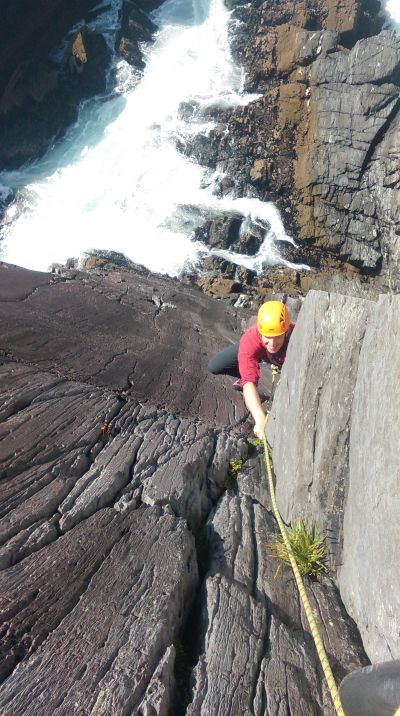
These crags are situated on the southern side of the Glaneragh headland first climbed by Chris Jackson and Co in the 1990’s. The crags are much smaller than their northern counterparts but offer excellent climbing on solid rock with good natural anchors.
From Finians Bay take the steep hill up towards Coomanaspig. Before reaching the top take the bothairín at V368 691. Follow this to a collection of houses. Park at the small lay-by before the walk "Críoch/End" sign. Access is an issue so approach with caution and large groups are not recommended. Head across the fields and descend steeply to the top of the cliffs.
There are several crags only a few of which have been explored at present. Most of the climbs start at sea level so are not possible with a high swell although Amelie’s Wall and Swell Pickings can be climbed in a moderate swell. The crags are described as they are encountered as you make your way back toward Finians Bay.
Sophie’s Wall
1. Swell Pickings, E1 5c, 15m
R. Doody, J. Hussey, 07/08/2016
Start at the base of a steep ramp about half way down the crag. Climb the ramp via a thin crack to
the ledge. Protection is poor initially. From the ledge head directly up the wall on better gear. Try to
avoid using the spike if possible.
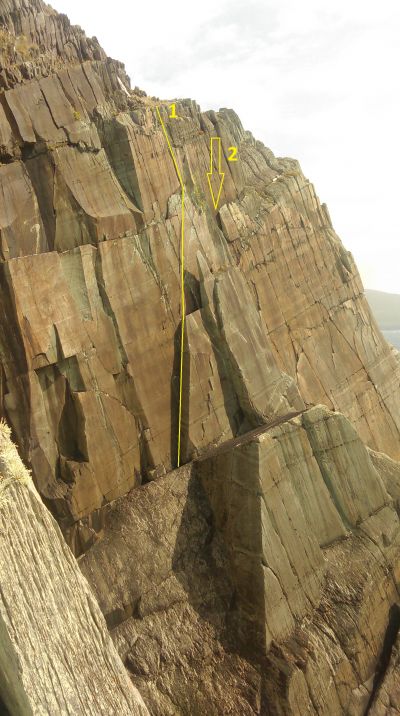
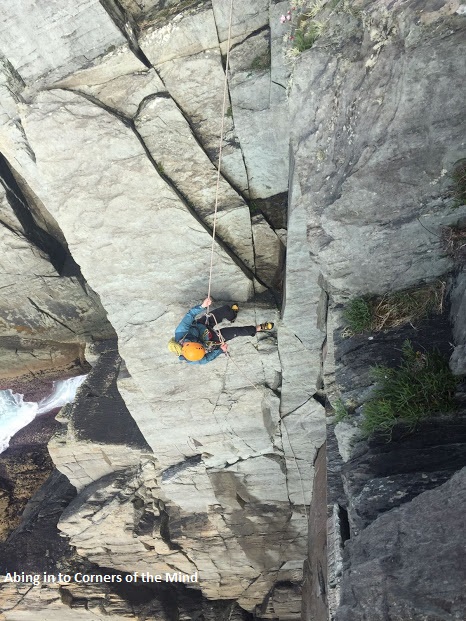
2, Corners of the Mind, VS 4c, 30m *
J.Hussey, M.Finn, 07/05/2017
This climbs the corner between the Southern side of Sophie’s wall and the adjacent wall. An
excellent route. Start at the base of the corner and climb to the top. Gear is excellent in the corner
and on the right wall.
Amelie’s Wall
This crag is further along as you head back towards Finian’s Bay. The rock is darker and more featured than Sophie’s wall but is still good quality.
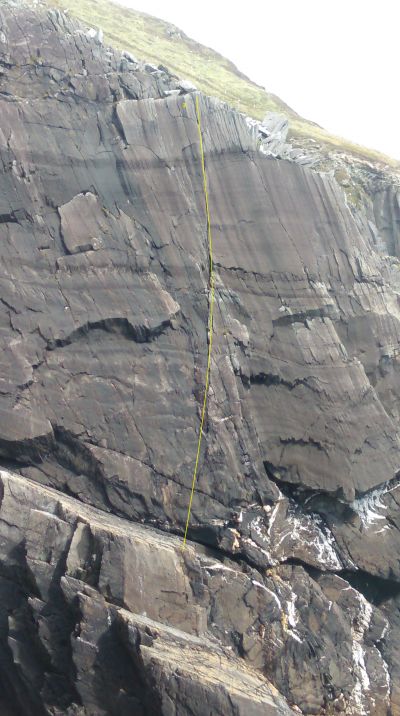
3. Dumbledore’s Army, VS 4c, 25m
J.Hussey, R. Doody, 07/08/2016
Abseil to the first large ledge on the crag. The line follows the prominent overlap in the centre of the wall. Climb through the overlap on good gear to the base of a steep corner. Continue strenuously to the top on good gear.
The next set of climbs are on a series of crags at the entrance to a small inlet. Although smaller they offer excellent climbing. They are characterized by a large rock platform at the top that offers great anchors.
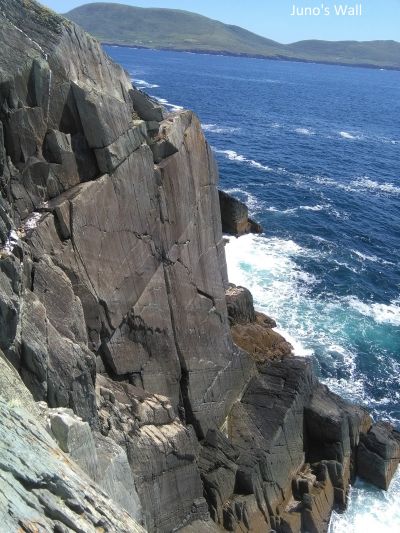
Juno’s Wall
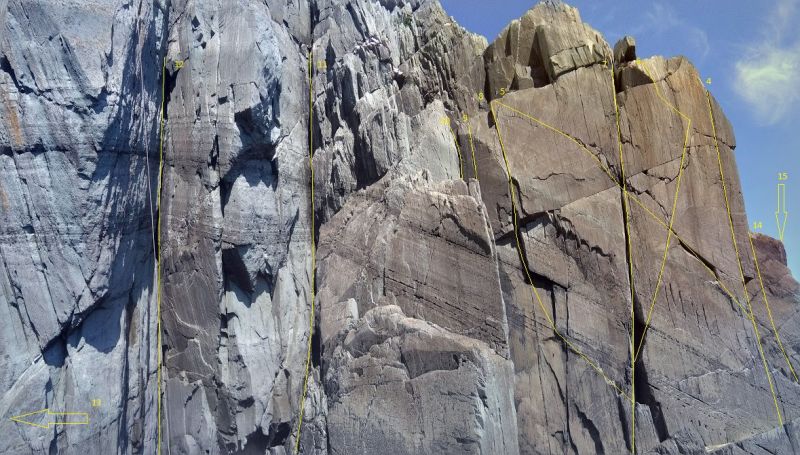
This wall is the most prominent of the smaller crags characterized by the large crack line in the middle of the wall. The climbs are described from right to left.
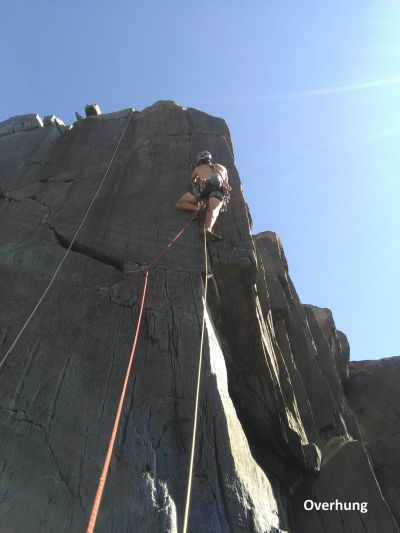
4. Overhung HVS 5b, 15m *
N. Moriarty, J.Hussey, 18/06/2017
This line climbs the thin crack that starts at half height on the right side of the crag. Climb the arête
to the start of the crack. Place a good cam at the base of the crack and move. Follow the crack to
the top with surprisingly good edges for your feet. The crack is well protected with small to medium
nuts.
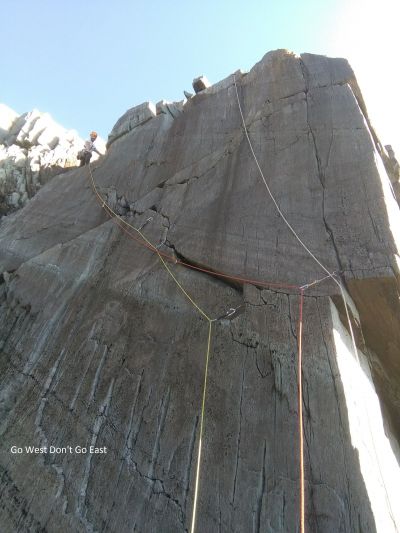
5. Go west don’t go east HVS 5a, 15m *
J.Hussey, N. Moriarty, 18/06/2017
This route climbs the prominent line that traverses the crag from right to left. Start as for Overhung to the base of the thin crack. From here move left to join the large horizontal break.
Follow this delicately to briefly join the main crack of the Swiss Machine. Continue along the left
trending thin crack with good feet to the top of the left hand side of the crag.
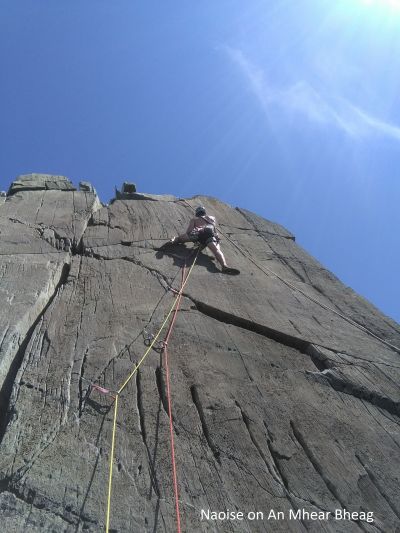
6. An mhéar bheag E1 5c, 15m *
N. Moriarty, J.Hussey, 18/06/2017
This line climbs the thin right trending crack between the Swiss machine and Overhung.
Start as for the Swiss machine until the crack begins to narrow. From here step out right and pick up
the right trending thin crack. Follow this until it peters out towards the top. From here move delicately
left (crux) to finish at the large block.
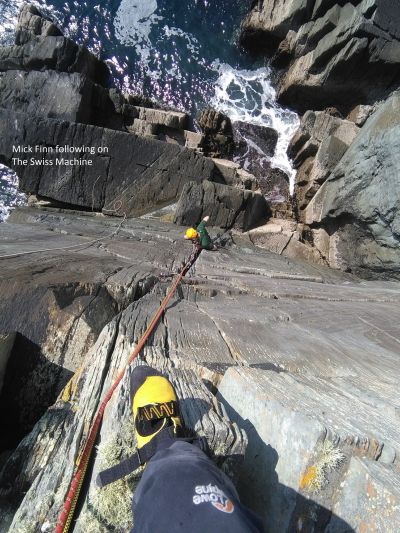
7. The Swiss Machine, VS 4b, 15m *
J.Hussey, M. Finn, 07/05/2017
Climb the obvious crack in the middle of the wall. Protection is very good.
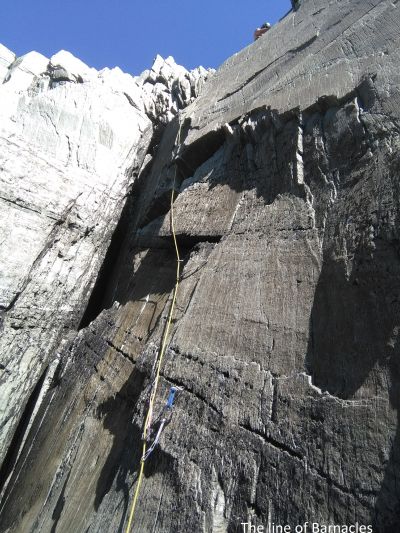
8. Barnacles.jpg E1 5c, 15m *
N. Moriarty, J.Hussey, 18/06/2017
This route picks up the crack going through the small overhangs on the left of the crag. A direct line
was attempted but abandoned due to wet feet. Instead start at the base of the Swiss Machine and
follow the small left trending ramp to a small block. Move left around this to pick up the crack line
under a larger block and move up to the small overhang. Arrange good gear before pulling
strenuously through the roof. Good hand jams lead to a delicate step out right to a small foot hold
and crimp before topping out on good holds.
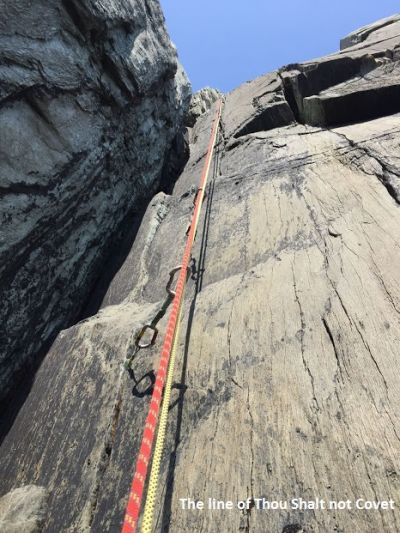
9. Thou shalt not covet thy neighbours crack HVS 5a, 15m
J.Hussey, M. Finn, 07/05/2017
This climbs the thin crack immediately right of Wedding Spoiler. Resist the temptation to use the
corner if possible. The less you use the corner the harder the climb.
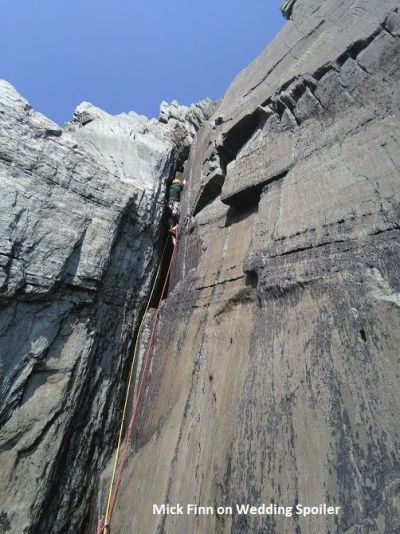
10. Wedding Spoiler HS 4b, 15m
M. Finn, J.Hussey, 07/05/2017
Climb the off width corner on the left hand side of the crag. Tenuous moves initially lead you into the off width which is followed strenuously to the top.
The next lines are on the crag immediately left of Juno’s Wall. They can be reached by scrambling over from the ledge of Juno’s Wall or can be abseiled into separately which is the better option.
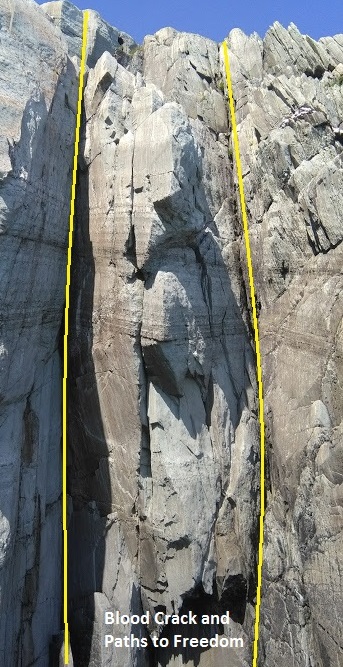
11. Paths to Freedom, Severe 15m
J.Hussey, N. Moriarty, 18/06/2017
Straight forward but enjoyable.Climb the prominent right hand corner. Initial easy climbing leads to a
more interesting finish.
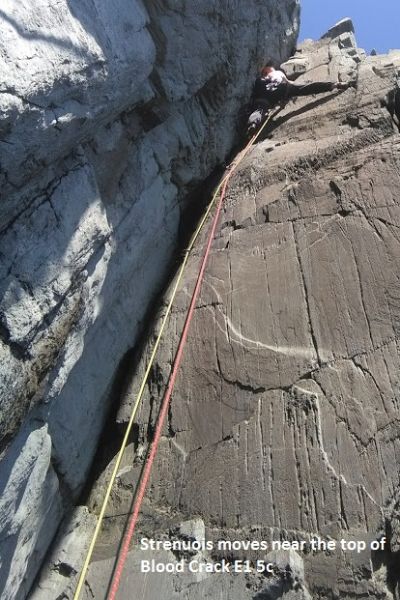
12. Blood Crack E1 5c, 15m
J.Hussey, N. Moriarty, 18/06/2017
A fine test piece climbing the steep open book corner in the middle of the crag. Bridge up the corner
until it begins to steepen. The crack is flared in the middle so is difficult to protect but narrows again
as you get higher giving good gear. Continue up until the crack begins to overhang slightly. A
combination of jamming and flagging on the right wall leads to a strenuous top out.
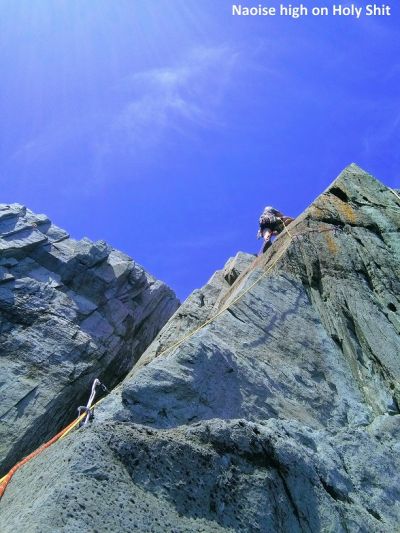
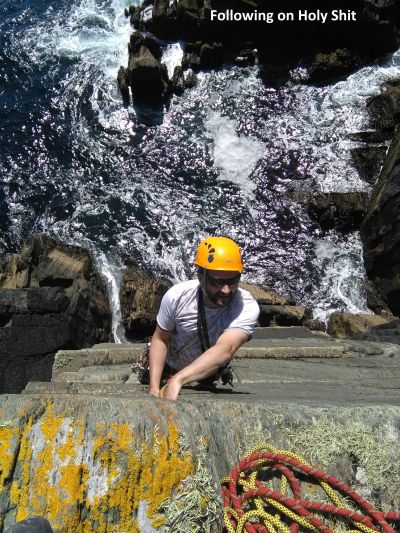
13..Holy Shit.jpg, E1 5a, 15m
N. Moriarty, J.Hussey, 18/06/2017
The next route starts at the end of the ledge left of Blood Crack. From the ledge move out onto the
West facing wall. Climb the arête to a ledge where you meet a poor seam of rock. Protect this as
best you can before making some committing moves onto the upper part of the wall where the rock
quality improves again. Climb to a small ledge where you pick up another crack and follow to the top.
The next routes are on the crags to the right of Juno’s wall.
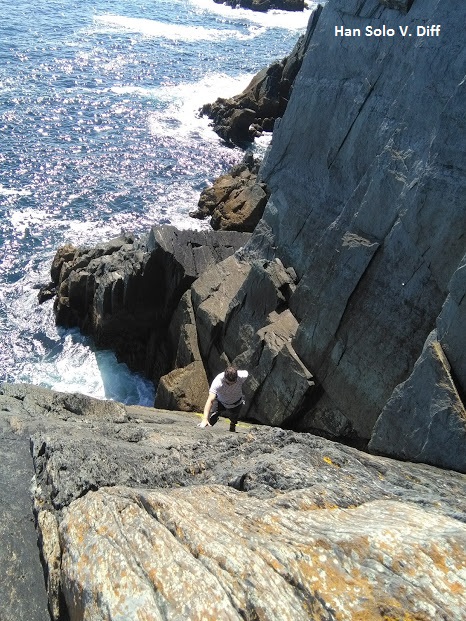
14. Han Solo, V Diff 12m
J.Hussey (Solo), 18/06/2017
Climb the slab around and to the right of Juno’s wall
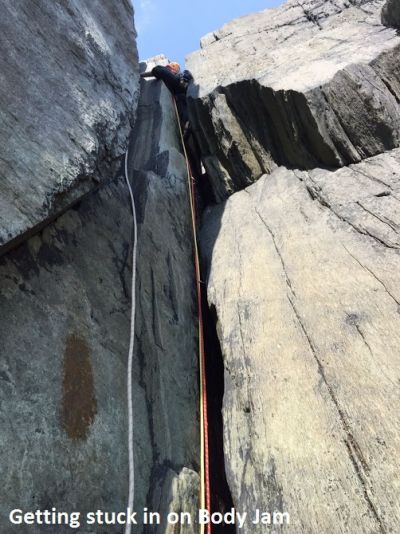
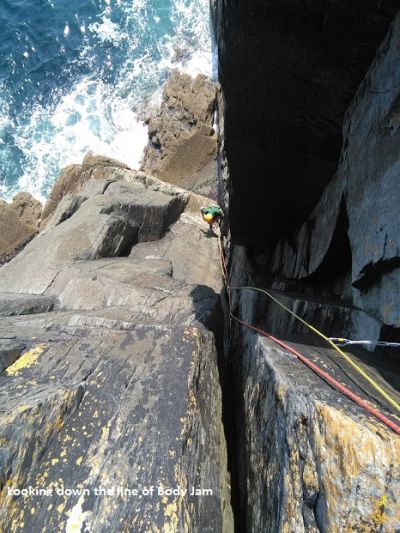
15. Body Jam VS 4c, 12m
J.Hussey, M. Finn, 07/05/2017
This climbs the large off width corner around to the right of Juno’s Wall and needs to be abbed into
separately. Initial delicate moves lead into the main crack. Good gear is possible at first but as the
crack widens it becomes more difficult to protect without very big cam’s however you are quite
secure if you can body jam.
